If you’re using Selenium to automate UI testing for your app, Selenium’s click() command will become one of your most commonly used methods. It’s important to understand how the Selenium click() command works for automated testing and how to find more information and resources when your needs are more complex.
What is the Selenium Click Command?
Selenium’s click() command emulates a mouse click operation for any interactive UI element (links, buttons, checkboxes, radio buttons). Simulating mouse clicks using Selenium can not only save crucial manual testing effort, but also help to identify bugs in your application.
How to Use the Selenium Click Command
Here’s an example of the Selenium click() command:
The following Java command invocation simulates a click on a button (with the HTML ID “clickable”)
clickable = driver.findElement(By.id("clickable"));
clickable.click()
Form submissions and buttons are the most common drivers of “state change” in an application, and they tend to be the most important steps in any test. It’s after the click that the assertions need to be made, to examine the resulting page changes for actual-vs-expected behavior.
However, the Selenium click() command only covers the left mouse button, the most common kind of mouse interaction. What happens when you need to click with the right mouse button?
Advanced Click Techniques: Sending a Right-Click Mouse Event
Sometimes you'll run into an app that has functionality hidden behind a right-click menu (e.g., a context menu). These tend to be system-level menus that are untouchable by Selenium’s default methods. So how do you get to them?
By leveraging Selenium’s mouse actions library, you can issue a right-click command (a.k.a. a context_click).
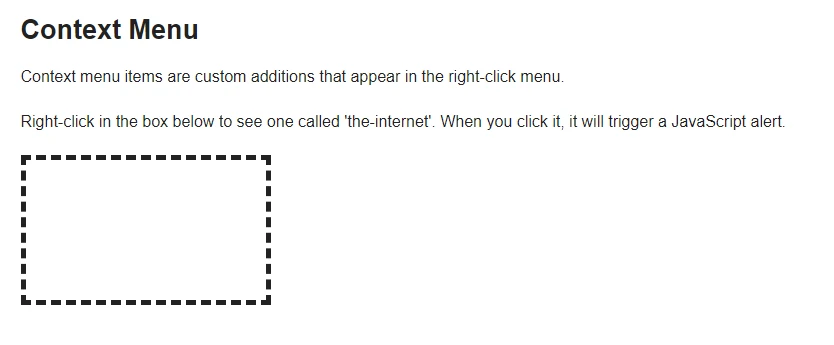
Let's use a right-click example from the-internet:
This page will render a custom context menu when we right-click on a specific area of the page. For example:
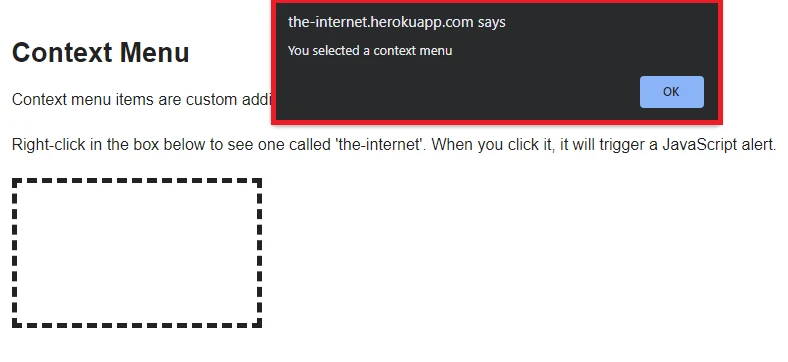
Clicking the context menu will trigger a JavaScript alert that says, ”You selected a context menu.”
driver.navigate()
.to("http://the-internet.herokuapp.com/context_menu");
WebElement clickable =
driver.findElement(By.id("hot-spot"));
new Actions(driver)
   .contextClick(clickable)
   .perform();
Alert alert = new WebDriverWait(driver,
   Duration.ofSeconds(2))
   .until(ExpectedConditions.alertIsPresent());
Assertions.assertEquals("You selected a context menu",
alert.getText());
First, navigate to the page and find your right-clickable element. Once you have it, send the actions-based contextClick(). After you send the event, wait for an alert to appear, then confirm that the text message appears as expected.
By following this example and looking at Selenium’s Actions API documentation, you should be able to send mouse actions like click, double-click, right-click, click-and-hold, back-click, and more. In addition to standard mouse events, the Selenium Actions API also provides support for mouse wheel, pen actions, and just about anything you’d need to do with a keyboard.
Getting Started with the Selenium Click Command
These examples have shown the basics of how to send mouse events. In your own test code, be sure to abstract out complicated code like actions when you’re working with common web elements, so that testers encountering your code in the future can make changes quickly. There are many ways to simulate various mouse events, and this article didn’t touch on any more than the basics. Be sure to check out the official Selenium documentation for more details.


