
It’s easy to get up and running with Selenium-WebDriver using Eclipse and the Java bindings on Windows.In this article we'll show you how to get the various parts and pieces to configure selenium for Java, plus write and run one simple test.
The Components You'll Need
This tutorial will walk you through the entire install process for every component, some of which you may have installed already. In some cases, you may want to switch components. This example will include installs and configuration for:
Java
Eclipse
A test framework (We’ll use JUnit; there are many you can use)
WebDriver’s Java bindings
A Dependency Manager - examples will be in Maven
Google’s Browser Driving Engine - Chromedriver.exe
Regardless of what platform you’re on, there are many, many different environment setups for Java in Eclipse. Different teams will use different build and dependency systems such as Maven, Gradle, etc. The dependencies for Webdriver are complex enough that we want to use one, so these examples will use Maven.
Getting Java
Naturally, WebDriver’s Java bindings require a version of Java to be on the system you’re running your tests from. WebDriver’s Java bindings require only the Java Runtime Environment (JRE), but you’ll be fine if you have either the Java Development Kit (JDK) or JRE installed. There are also different versions for Enterprise, SE, and other Java JRE/JDKs.
You can get Java from its download site. We’ll skip walking through Java installation in this article since it will vary based on the version you select. If you need advice, as of this writing, use Java 8 Windows x84.
Getting Eclipse
Eclipse is one of several widely popular editors for Java. It’s an open source project maintained by the Eclipse Foundation, and has a huge marketplace of add-ons, tools, and customizations. You can download the latest version of Eclipse for Java for Windows.
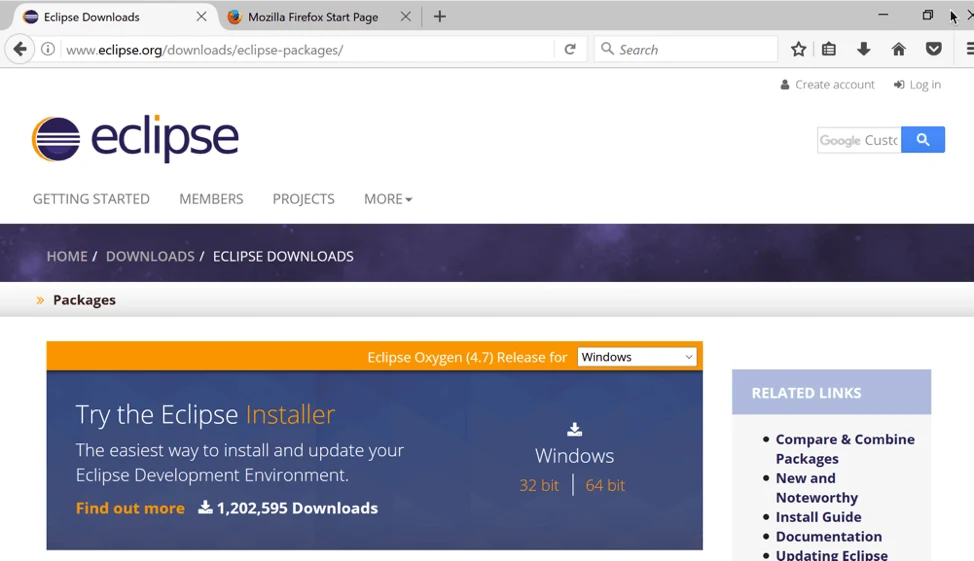
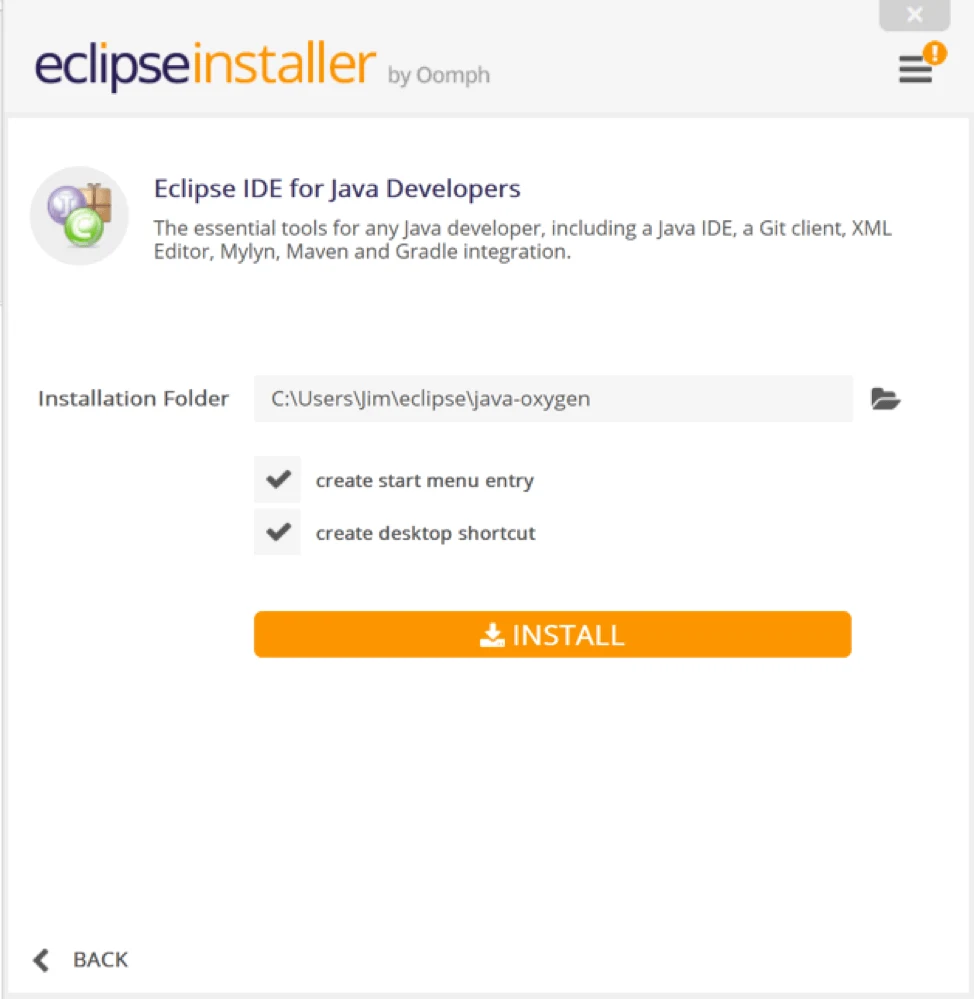
The installer is small utility that will configure, download, and install the particular Eclipse variant you’re looking for.
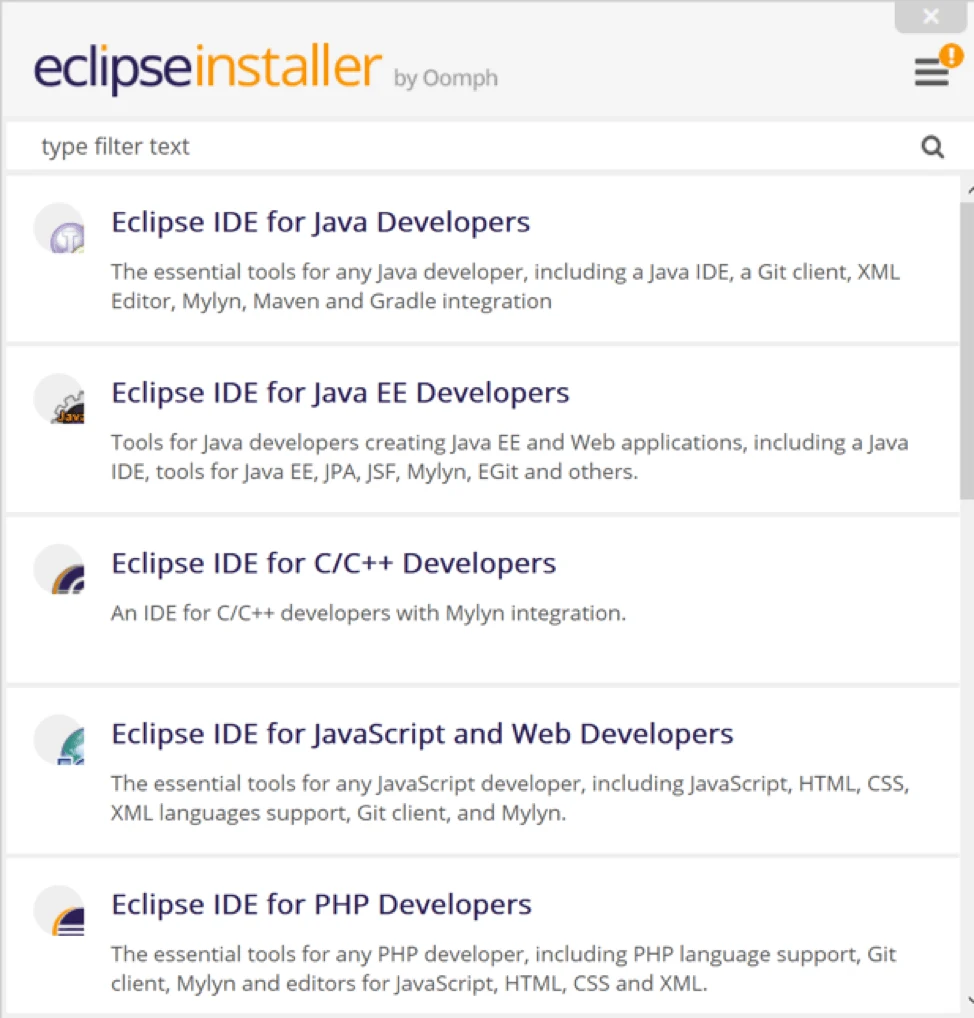
For brevity’s sake, and due to platform differences, we’ll skip the actual install steps in this guide.
Once Eclipse is installed you’re free to customize it as you like. There are a wealth of themes and editor tweaks available both from the larger community and the Eclipse Marketplace.
Creating The Project
Eclipse works with the concepts of workspaces—folders and spaces where you work with your projects. In this example, I’m using a small workspace I’ve just created for example projects. Teams use different approaches for workspaces and project structures. Use whatever you like with your own small sample projects; however, make sure to follow your team’s pattern for real work. (Workspace and project structure is almost as hotly debated as tabs versus spaces. Be kind.)
This article uses a simple Java Project created by using the menu File => New => Java Project.
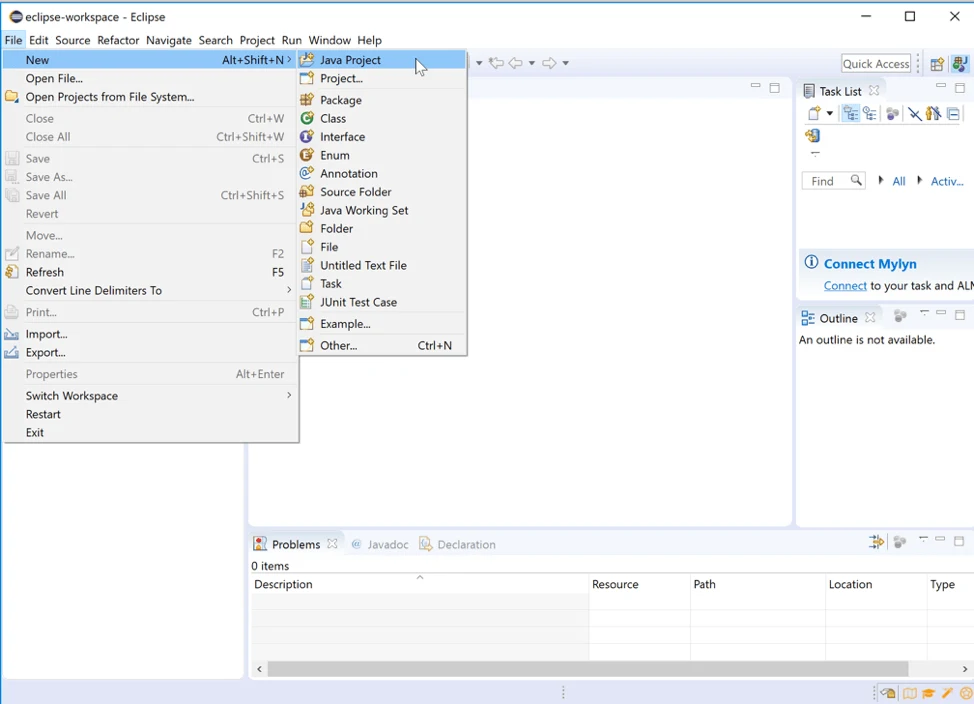
Fill out the basic information on the New Java Project dialog, then click Finish to proceed.
Adding WebDriver to Eclipse
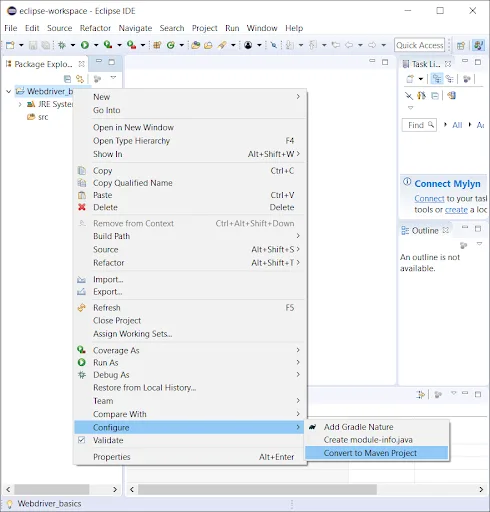
As mentioned earlier, there are many ways to include WebDriver in your Eclipse projects. Most mature teams use a build and dependency management system like Maven or Gradle. This article uses Maven. To convert to Maven, right-click on the project name, select Configure, and convert to Maven Project.
This will bring up a dialogue box to create a pom.xml file. Click “Finish” and you’ll be brought to a screen that contains the file. This file contains information on where to download extra libraries for the project. We’ll add some XML code to the file, after and before . Here’s the code to add:
This code adds a new structure, called “dependencies”, and then two dependencies - Junit 5.1 (“Jupiter”) and selenium-java. Both of these are registered with Maven. By adding them to the POM, the project becomes aware of them and can use the code libraries as they were part of the project.
Browser Drive Engine
Finally, we’ll need to set up the browser driver engine. In the case of Chrome, this is a windows executable file called ChromeDriver.exe. The Java code will call this program, and the program will manipulate the browser through its automation engine. Firefox, Safari, and InternetExplorer/Edge all have a similar executable file. You’ll save the file in a particular directory, then tell the Java code how to find the driver. In this case, download ChromeDriver ‘ve downloaded the zip file, expanded it, and put it in my “home” directory which is C:\users\matt. You’ll see that in the sample code below.
You’re done!
Writing Your First Test
WebDriver doesn’t know how to do anything other than talk to the browser driver. As a result, you’ll need some sort of test framework to execute your tests, make assertions, and report test status. We’ll use JUnit because 0) it’s very popular and 1) it’s included in Eclipse’s default installation.
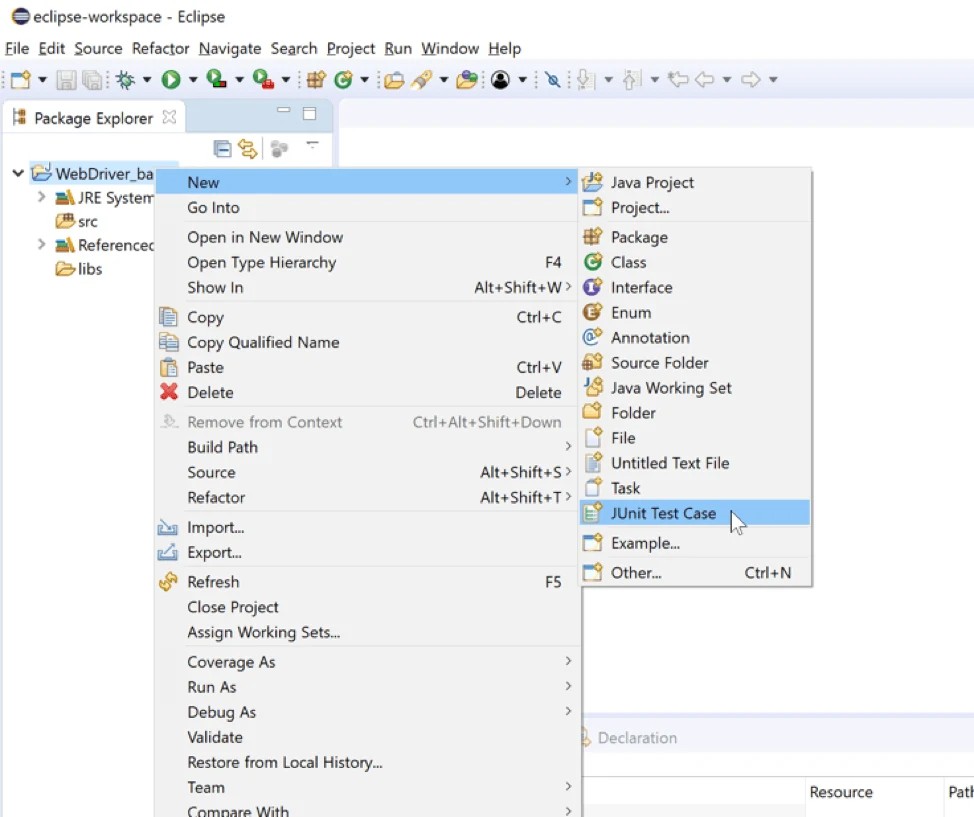
Add a test case to your Eclipse project via right click => New => JUnit Test Case.
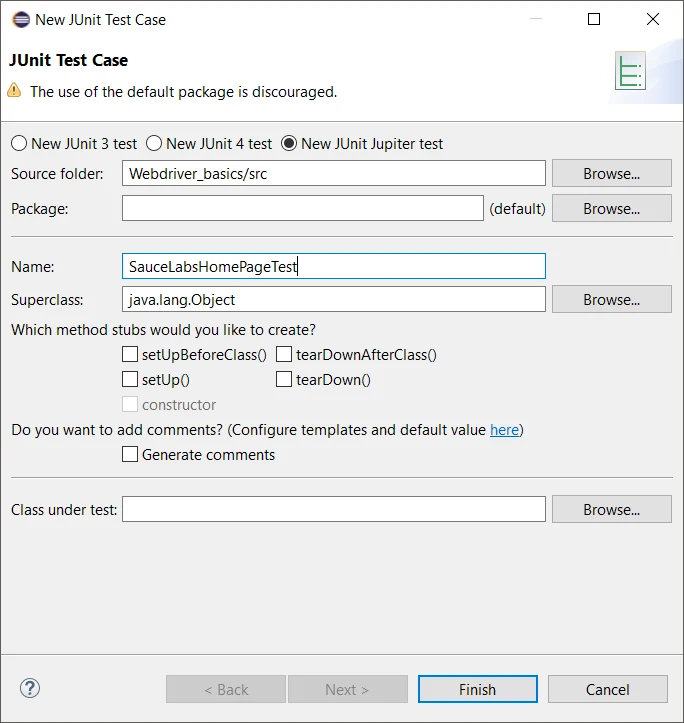
Give your test case a good name in the resulting dialog and click Finish to create the file. Note I’ve used the default namespace for this test case—and that Eclipse is rightfully complaining about it. Again, be kind. Follow your teams’ standard practices for project organization and naming.
Note that Eclipse will helpfully add JUnit 5 (Jupiter) to your project if it’s not already on Eclipse’s build path.
You’ll find your first test case set up and ready to author.
A Simple Test
Below is a complete test case that starts a browser locally, executes a very simple test, then closes out the browser instance. The example is extremely simple and doesn’t follow normal practices like using Page Object Patterns. This is example code, not production code!import org.junit.jupiter.api.AfterEach;
import org.junit.jupiter.api.BeforeEach;
import static org.junit.jupiter.api.Assertions.*;
import org.junit.jupiter.api.Test;
import org.openqa.selenium.By;
import org.openqa.selenium.WebDriver;
import org.openqa.selenium.WebElement;
import org.openqa.selenium.chrome.ChromeDriver;
classSauceLabsHomePageTest{
@BeforeEach
voidsetUp() {
}
@BeforeEach
voidtearDown() {
}
@Test
public voidsite_header_is_on_home_page() {
System.setProperty("webdriver.chrome.driver","c\\users\\matt\\chromedriver.exe");
WebDriver browser = new ChromeDriver();
browser.get("https://www.saucelabs.com");
WebElement href = browser.findElement(By.xpath("//a[@href='/beta/login']"));assertTrue((href.isDisplayed()));
browser.close();
}
}
Running The Test
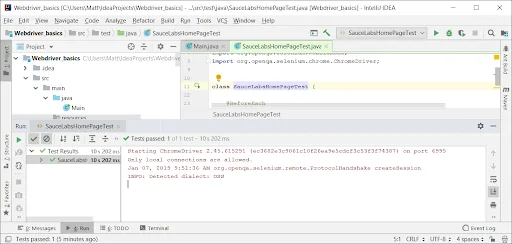
Execute the test by right-clicking in the test body and select Run As => JUnit Test Case. Alternatively, left-click on the name of the class and press Alt+Enter. The test will run and you’ll see the results in the JUnit Test Explorer pane.
Summing Up
In this post, you learned a bit about the various components that make up Selenium WebDriver. We also showed you how to install Intellij, gather up the various WebDriver pieces necessary for Java tests in Intellij, and we showed you an extremely simple test on Windows.
