Have you ever wished that testing your web apps and sites could be as easy as clicking a button? Web automation testing is becoming more important than ever. With the powerful pairing of Selenium WebDriver and JavaScript, you can open up a world of rapid and efficient testing, guaranteeing that your web apps perform effectively.
In this tutorial, we'll explore how Selenium revolutionizes test automation with JavaScript as your programming language. We will walk you through the magic of web testing automation, giving you your power back. Let's take a look at how Selenium and JavaScript can usher in a new era of excellence in web automation testing.
Getting to Know Selenium
Selenium is an open-source web testing framework that is used for automated testing in web applications. It provides us with a toolkit that we can use to interact with a web application in much the same way as a user (by, for example, entering text in a text input, clicking a submit or login button, or navigating to a page).
Selenium has four separate tools that facilitate test automation in different ways:
Selenium WebDriver is a collection of open-source APIs that are used to automate the testing of web applications through code.
Selenium IDE allows us to record scripts and play them back. It is an excellent way for us to go through, click, and record what we are testing inside a browser. It also allows us to run the test again.
Selenium Grid allows the execution of WebDriver scripts on remote machines by routing commands sent by the client to remote browser instances.
Selenium Remote Control is now deprecated.
Why Selenium and JavaScript?
Selenium and JavaScript are a powerful duo for web automation testing. Selenium is a browser automation framework, while JavaScript is a programming language. Together, they can be used to automate a wide range of web testing tasks, such as logging in to websites, filling out forms, clicking on buttons and links, and navigating through pages.
Selenium and JavaScript are open-source, cross-platform, and well-documented. This makes them ideal for testing web applications on any operating system and for a global audience. In addition, Selenium and JavaScript can be used to test mobile apps, generate reports, and integrate with other tools.
For this tutorial, we will simulate how to use Selenium to automate the login process for a website by entering your username and password into the login form and clicking the login button. We will then use JavaScript to verify that the login was successful by checking the page title and looking for a confirmation message.
How Selenium WebDriver Works
Before writing any code, we need to understand how Selenium WebDriver works. This powerful tool enables us to automate browser testing by simulating user actions on a website (like entering text into input boxes or clicking buttons).
To begin, we need to specify the browser we want to use for our test and the website we wish to automate. For instance, in our example, we'll work with a React application that has a login page and a welcome page. You can check out the site at testLoginWebsite.
Next, in order for Selenium to interact with the specific elements on the website, we need to tell it what to look for. This is where the findElement() method comes into play. It helps Selenium locate elements on the web page using DOM element selectors like ID, XPATH, or CSS selectors.
Once Selenium finds the desired element, it executes the commands or actions we've specified. This allows us to seamlessly automate the web testing process and ensure our application functions as expected.
How to Use JavaScript in Selenium - A Tutorial
In this section of the tutorial, we will show you how to use Selenium with JavaScript for automated testing. We will test login functionality for a sample site (a basic login page application written in JavaScript), then we’ll utilize Selenium WebDriver to automate various application functionality tests.
Prerequisites
Before we begin, make sure you have the following tools installed:
An IDE of your choice. (You can get Visual Studio Code here.)
Node.js/npm.
Selenium WebDriver v4.6+ (which you can download here). Note that you'll need to download the browser driver separately for Selenium WebDriver versions below 4.6; however, for version 4.6 and above, Selenium WebDriver uses a service object to render a browser window.
Setting up your project
Let's get started by installing the required tools and setting up our Node.js project:
First, install Node.js from the official website (https://nodejs.org/en) if you haven't already. You can check your currently installed version as follows:
node -v
npm -v
Next, create a new folder called "DemoSeleniumProject" on your desktop (or preferred location).
Open the command line or terminal, navigate to the newly created folder, and initialize a new Node.js project by running npm init.
While the above node initialization is running, make sure you accept the default configuration options by pressing "Enter" for each prompt.
At the end, the package.json looks like this.
{
"name": "demoseleniumproject",
"version": "1.0.0",
"description": "",
"main": "index.js",
"scripts": {
"test": "echo \"Error: no test specified\" && exit 1"
},
"author": "",
"license": "ISC",
"dependencies": {
"selenium-webdriver": "^4.11.1"
}
}
Installing Selenium WebDriver
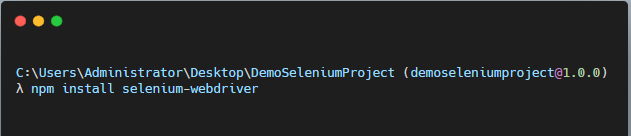
Now, let's install the Selenium WebDriver package. Run the following command in your terminal to install the package:
npm install selenium-WebDriver

After you have successfully installed Selenium WebDriver, open your project in your IDE and open the package.json file. The installed Selenium WebDriver package should be listed among the project's dependencies, as shown below:
- - -
"dependencies": {
"selenium-webdriver": "^4.11.1"
}
- --- – - -
Writing your first test script
Now, let's dive into writing our automation test script code. To write our tests, we have to follow the steps below. First, we’ll create a file called testLogin.js. Then, we will perform the following:
1. Import required libraries
Begin by importing the necessary libraries, including selenium-WebDriver, assert, and until (for handling asynchronous operations).
const { Builder, By, until } = require("selenium-WebDriver");
const assert = require("assert");
2. Create the login test function
Now, let's set up the loginTest function, which will contain all the code for your test.
1const { Builder, By, until } = require("selenium-webdriver");2const assert = require("assert");3async function loginTest() {4// launch the browser5let driver = await new Builder().forBrowser("chrome").build();6try {7//navigate to facebook login page8await driver.get("https://test-login-app.vercel.app/");9// Select input elements and fill them out10await driver.findElement(By.id("email")).sendKeys("test3@gmail.com");11await driver.findElement(By.id("password")).sendKeys("Password@12345");12// Select login button and invoke click action13//If login details are correct we wiil be redirected to the welcome page14await driver.findElement(By.name("login")).click();15//On succesful login get page title16//Check page title, to confirm login was successful17const pageTitle = await driver.getTitle();18// assert usign node assertion19assert.strictEqual(pageTitle, "Welcomepage");20//Check if redirect to login page was successfull21await driver.wait(until.titleIs("Welcomepage"), 4000);22} finally {23await driver.quit();24}25}26loginTest();
As you can see above, we began by setting up a function called loginTest, which contains the entire test logic for app login and redirection.
3. Run the test script
To run the test file, you use node and the following command in your terminal:
node loginTest.js
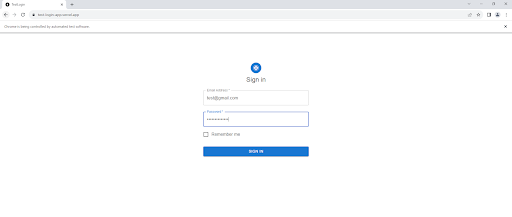
This launches the browser while the builder function creates a WebDriver instance based on the configuration settings. In our case, we set up a Chrome WebDriver instance, which loads the login page on the browser by default as shown below:

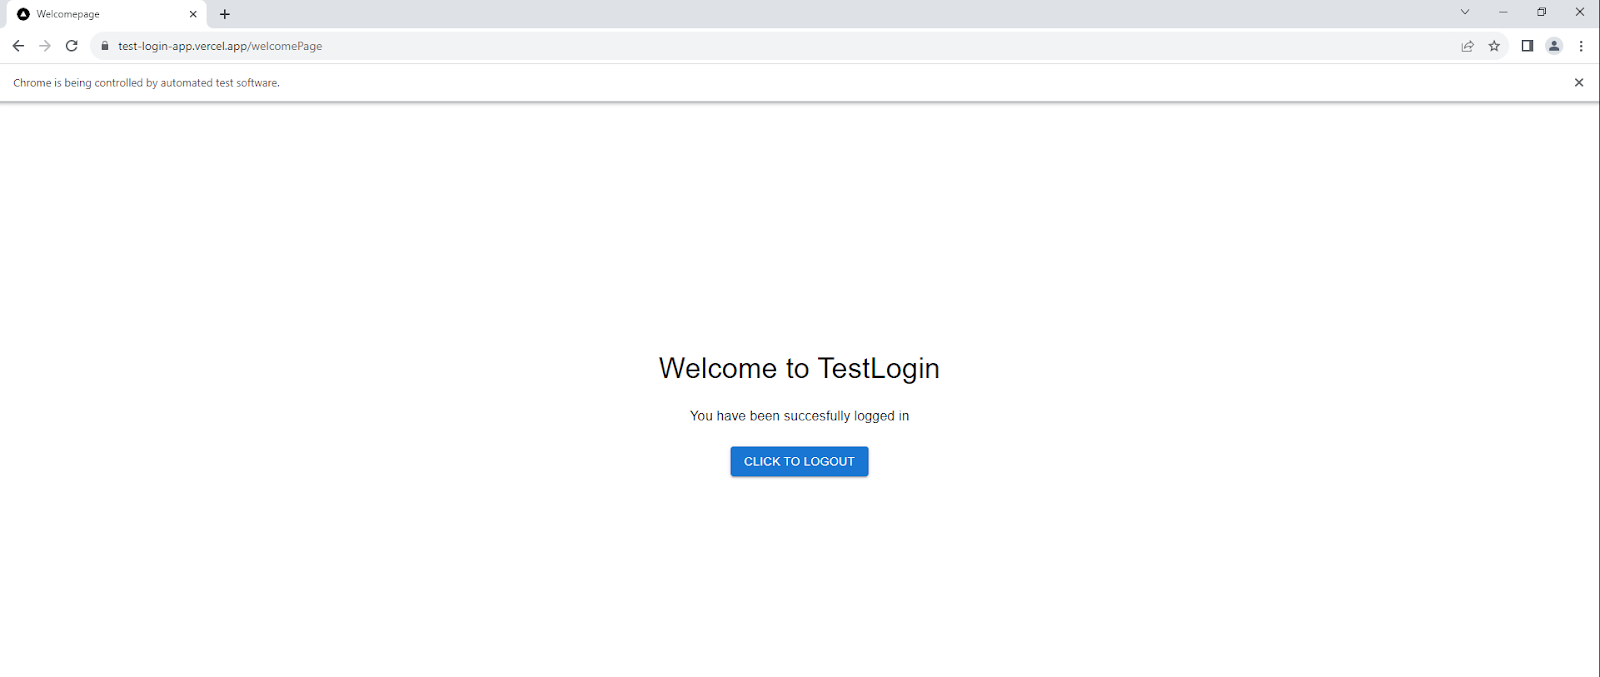
Upon successful login, you will be redirected to the welcome page:

4. Verify the test: successful case
When you run the test, a new Chrome browser window will open. The login credentials will be pre-filled, and the test will click the login button. The test will then verify that the welcome page loads successfully. If everything works as intended, you should see a confirmation message indicating a successful login.


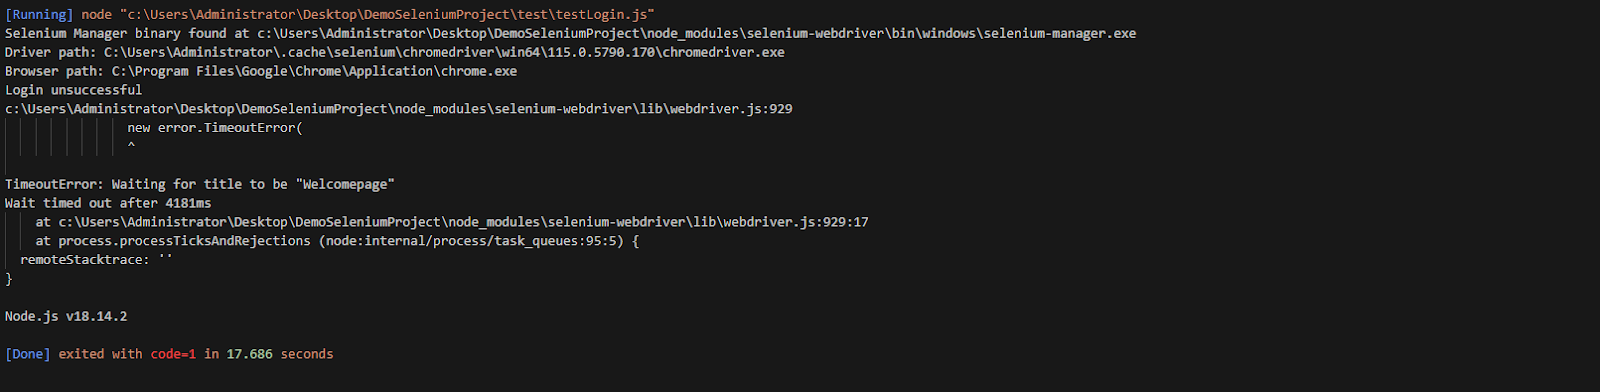
5. Verify the test: failed case
If the test fails (such as when you enter the wrong credentials), the test will still run to completion. The following will be logged in the terminal:
Script exited with code 1.
This means that the test script returned a value of 1, which indicates that the test failed. In addition, the page title will not change.

Congratulations! You have successfully simulated web automation tests for JavaScript using Selenium! For more information, you can see the complete code in this repository. Additionally, you can find the ReactJS application used above here.
Best Practices for Selenium Testing with JavaScript
Here are some best practices to follow when using Selenium WebDriver with JavaScript:
Use best-fit web locators – To prevent the constant modification of automation tests due to changing locators, use CSS selectors for elements whenever possible.
Create a list of priority test cases – Test critical application functionalities early on to ensure thorough testing.
Implement data-driven testing – Test cases should be able to run with different data combinations for better coverage.
Use the PageObjects pattern – Separate test scripts from locators to make your automation more maintainable.
Incorporate wait commands – Handle browser loading delays and issues due to slow internet connectivity.
Document your tests – Proper documentation helps organize and make your code scripts more readable, especially in a team environment.
Troubleshooting Tips
When writing automation tests for any web or mobile application, you are bound to face various issues. Here are a few tips that can help you resolve common problems when implementing web automation using Selenium and JavaScript.
Use appropriate and updated tools for both JavaScript and Selenium (especially with regard to the versions you use).
Ensure that your JavaScript code follows all proper conventions.
Install any necessary third-party plugins or packages and make sure that they are the appropriate versions to avoid conflicts.
Log errors properly and read through the errors printed in your terminal to help you identify and solve issues you may encounter.
Conclusion
In this comprehensive tutorial, you've gained invaluable insights into web automation using Selenium with JavaScript. We explored how Selenium empowers automated testing in web applications, mimicking user interactions with ease. By pairing it with JavaScript, you can create robust test scripts to ensure seamless website functionality.